
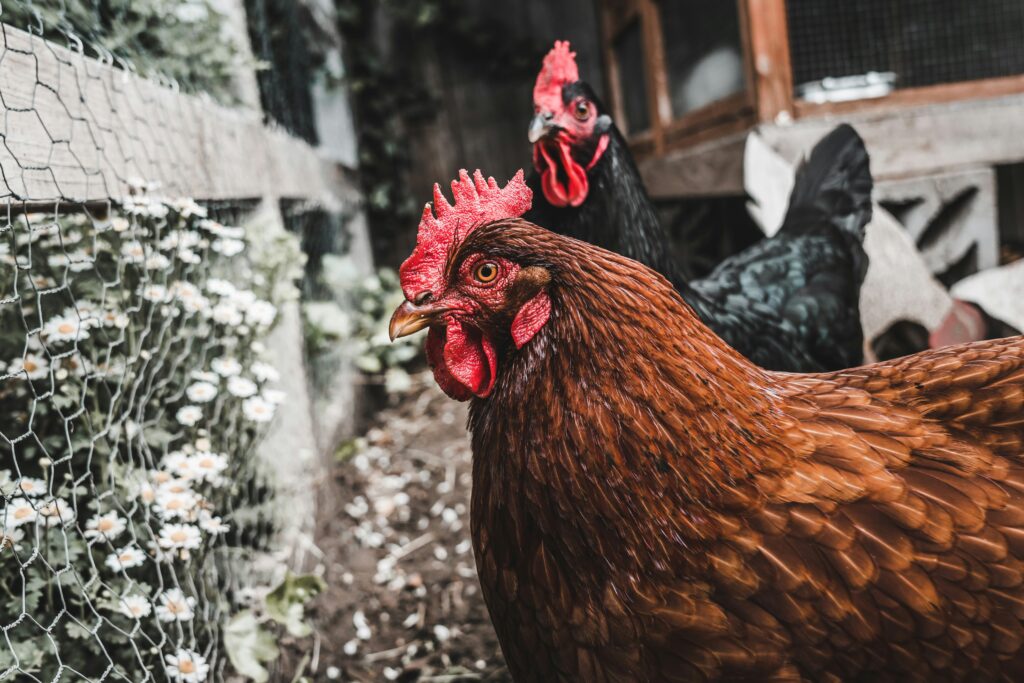
A backyard chicken coop doesn’t need to be complicated or expensive to be effective. A simple rectangular frame, a secure roof, proper ventilation, and predator-proofing cover the essentials — and a coop built from basic 2×4 framing and reclaimed or affordable materials can serve a small flock for years.
This guide walks through a straightforward set of chicken coop plans based on a simple frame-and-roof design, along with the dimensions, materials, and design considerations that matter most for a healthy, secure coop.
Planning Your Chicken Coop: Key Dimensions
Before cutting any lumber, the most important decision is size — and that depends on how many chickens you’re planning to keep. A commonly used guideline is approximately 2-3 square feet of coop floor space per standard-size chicken (more for larger breeds, less for bantams), plus access to an outdoor run for daytime space.
| Flock Size | Suggested Coop Floor | Notes |
| 2-4 chickens | 4 ft x 4 ft to 4 ft x 6 ft | Good starter size for a small backyard flock |
| 4-6 chickens | 4 ft x 8 ft | A popular all-around size; matches standard lumber lengths |
| 6-10 chickens | 8 ft x 8 ft or larger | Consider a walk-in design for easier cleaning |
A 4-foot by 8-foot footprint is a popular choice for small to medium flocks because it makes efficient use of standard 8-foot lumber lengths with minimal waste. A side height of around 6 feet, with additional peak height for a sloped roof, allows an adult to stand upright inside for cleaning and maintenance — a detail that makes day-to-day chores significantly easier.
Materials for a Simple DIY Chicken Coop
One of the most appealing aspects of a basic coop design is how forgiving it is when it comes to materials. Reclaimed lumber, leftover plywood from other projects, and basic hardware can all work well:
- Framing lumber: 2x4s for the floor frame, wall studs, corner posts, and roof framing
- Sheathing: Plywood or OSB for walls and roof decking
- Roofing: Metal roofing panels or asphalt shingles for weatherproofing
- Hardware cloth: 1/2-inch hardware cloth (not chicken wire) for windows, vents, and run enclosures — this is the single most important predator-proofing material
- Fasteners: 2-inch general-purpose screws are commonly used for framing; exterior-rated screws hold up better long-term than untreated standard screws
- Hinges and latches: For the access door and any cleanout doors — predator-resistant latches (carabiners or two-step latches) prevent raccoons from learning to open simple hook latches
Step-by-Step: Building the Basic Frame
Step 1: Build the Floor Frame
Start with the floor frame, which establishes the footprint of the entire coop. For a 4-foot by 8-foot design, cut two 2x4s to 4 feet and two to 8 feet, then fasten them together into a rectangle using exterior screws. This frame should sit on a foundation that keeps it off the ground — pressure-treated skids, concrete blocks, or a gravel pad all work, and keeping the floor elevated helps prevent moisture problems and makes it harder for rodents and predators to access the coop from below.
Step 2: Frame the Walls and Corner Posts
For a coop with 6-foot side walls, cut 2x4s to 6 feet for the corner posts — a rectangular coop needs four corner posts at minimum, with additional vertical studs for door framing and structural support on longer walls. Attach the corner posts to the floor frame, ensuring they’re plumb (vertical) before securing them, since out-of-square framing compounds problems through every later step.
Add horizontal top plates connecting the corner posts, which will support the roof framing. At this stage, also frame openings for the access door (sized for a person to enter for cleaning) and any smaller pop doors (sized for chickens to move between the coop and an outdoor run).
Step 3: Add the Roof
A simple sloped (shed-style) roof is the most straightforward option for a basic coop — it requires no complex angle cuts beyond a single slope, sheds rain and snow effectively, and creates a natural high side for ventilation. Frame the roof with 2×4 rafters set at a slight angle from the high side to the low side, then sheath with plywood or OSB before adding roofing material.
A roof overhang of several inches beyond the walls helps keep rain away from the walls and any ventilation openings, reducing moisture problems inside the coop.
Essential Design Features
Ventilation
Proper ventilation is one of the most overlooked aspects of coop design, but it’s critical for chicken health — poor ventilation leads to ammonia buildup from droppings and excess humidity, both of which contribute to respiratory problems. Vents positioned high on the walls (near the roofline) allow warm, moist air to escape without creating direct drafts on roosting chickens. Cover all ventilation openings with hardware cloth to maintain predator-proofing while still allowing airflow.
Predator-Proofing
This is the single most important safety consideration for any coop design. Chicken wire, despite the name, is not predator-proof — raccoons, weasels, and other predators can tear through it or reach through the openings. Half-inch hardware cloth, secured with screws and washers (not just staples, which predators can pry loose), should cover every opening: windows, vents, and the perimeter of any attached run.
- Bury hardware cloth 12 inches deep around the run perimeter, or extend it outward in an “L” shape, to prevent digging predators from tunneling underneath
- Use predator-resistant latches on all doors — simple hook-and-eye latches are easily defeated by raccoons
- Ensure the coop is fully enclosed at night — chickens should be locked into a secure coop after dark, when most predator activity occurs
Roosts and Nesting Boxes
Chickens naturally want to roost off the ground at night, so include roosting bars — typically 2x4s with the wide side up, which is more comfortable for chickens’ feet than a narrow edge — positioned higher than the nesting boxes (chickens prefer to roost as high as possible, and will avoid sleeping in nesting boxes if roosts are available higher up).
Nesting boxes should be roughly 12x12x12 inches per box, with one box per 3-4 hens being a typical guideline, positioned in a darker, more secluded area of the coop to encourage egg-laying.
Access for Cleaning
A coop tall enough to stand up in — even just along a center ridge — makes cleaning dramatically easier than a coop requiring you to crouch or reach through small doors. If a full standing-height coop isn’t practical, large hinged access panels on the roof or walls, positioned near the roosts and nesting boxes, make routine cleaning manageable without needing to enter the coop fully.
Frequently Asked Questions
What size should a chicken coop be?
A common guideline is 2-3 square feet of coop floor space per standard-size chicken, plus access to an outdoor run. For a small flock of 4-6 chickens, a 4-foot by 8-foot coop is a popular size that makes efficient use of standard lumber lengths.
What materials do I need for a simple DIY chicken coop?
Basic framing lumber (2x4s), plywood or OSB for sheathing, roofing material, half-inch hardware cloth for windows and vents, exterior screws, and predator-resistant latches are the core materials. Reclaimed lumber works well for a budget build, as long as it’s structurally sound.
Why is hardware cloth better than chicken wire?
Chicken wire is designed to keep chickens contained, not to keep predators out — raccoons and weasels can tear through it or reach through the gaps. Half-inch hardware cloth is much stronger and has openings too small for most predators to reach through, making it the standard choice for coop windows, vents, and run enclosures.
How much ventilation does a chicken coop need?
Coops need vents positioned high on the walls, near the roofline, to allow warm, moist air and ammonia from droppings to escape without creating direct drafts on roosting birds. All ventilation openings should be covered with hardware cloth to maintain predator-proofing.
How many nesting boxes do I need?
A general guideline is one nesting box per 3-4 hens, with each box around 12x12x12 inches, positioned in a dark, secluded area of the coop lower than the roosting bars.
Final Thoughts
A simple chicken coop built around a rectangular 2×4 frame, a sloped roof, and careful attention to ventilation and predator-proofing covers everything a small backyard flock needs. The design doesn’t need to be elaborate — a coop built from reclaimed materials with proper hardware cloth, secure latches, and adequate roosting and nesting space will serve a flock just as well as an expensive prefabricated option, often for a fraction of the cost.